
A children’s hardcover cover is usually one production spread: back cover, spine and front cover, plus provider-specific wrap, hinge, bleed and safe areas. Do not size it from the front-cover trim alone. Lock the accepted interior first, download the current template for the exact book specification, build on that template and export the result as the provider requires.
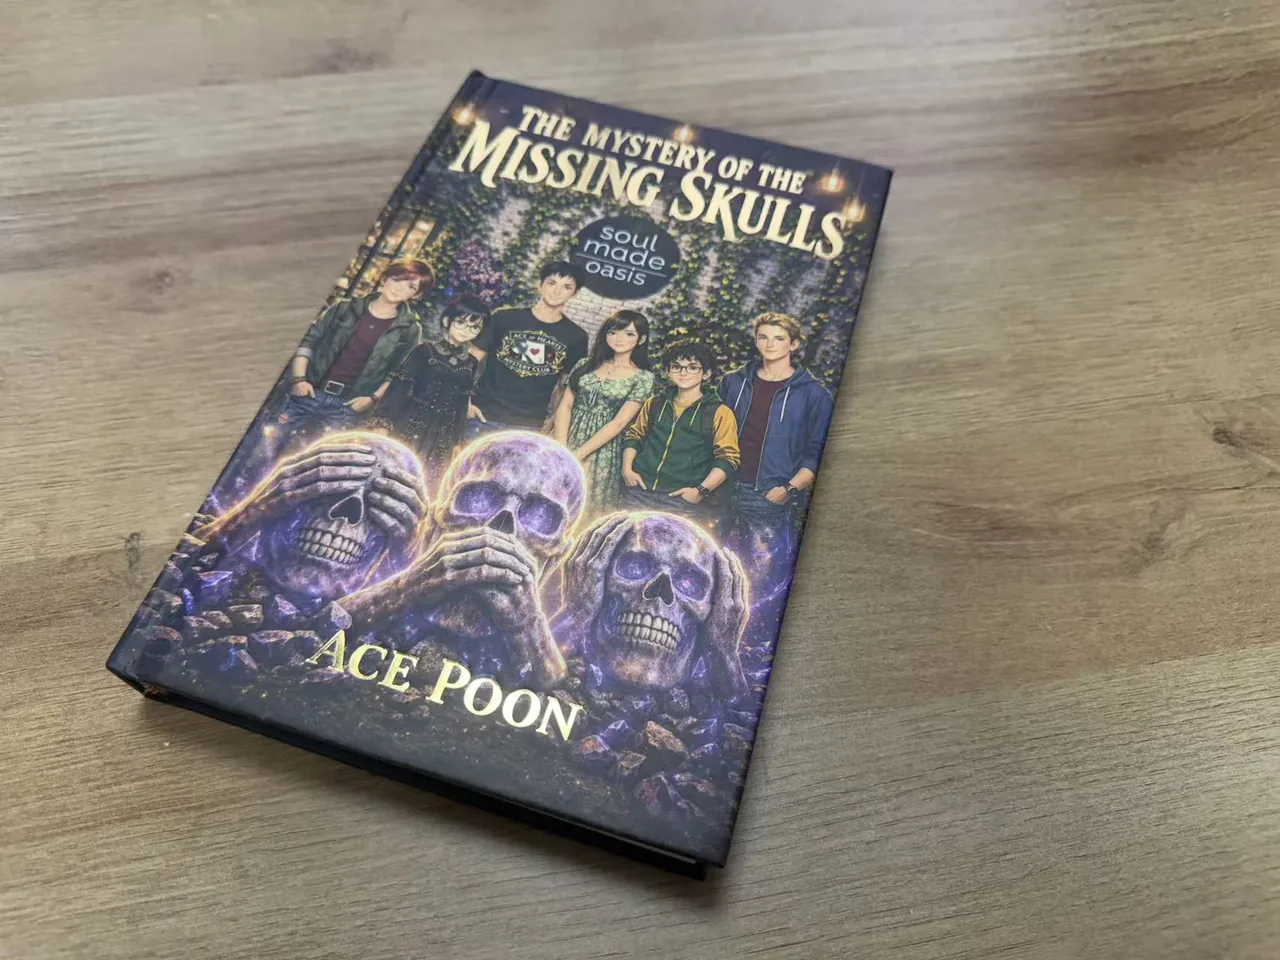
What file do I need for a children’s hardcover cover?
Use the file type and dimensions requested by the company that will manufacture the book. For common case-laminate routes, that means a single cover spread containing the back, spine and front, with extra production space outside the visible trim. The exact spread size changes with trim size, page count, paper and hardcover construction.
Reliable sequence: approve the interior, confirm the final page count, choose the exact hardcover product, generate its current cover template, place the artwork, run a preflight and then inspect a physical copy.
Do not copy measurements from a different printer, an old project or a paperback cover. A casewrap, a cloth case with a dust jacket and a paperback are separate physical products.
1. Lock the interior before you size the spine
The page count and paper stock affect spine width. If either changes after the cover is built, the spine can move and the whole spread may need to be regenerated.
Before opening the cover template, confirm:
- the provider and exact hardcover construction;
- the trim size and orientation;
- the accepted interior page count, including intentional blank pages;
- the paper and color option;
- whether a barcode will be supplied by you or placed by the provider.
Upload or preflight the interior first whenever the provider’s workflow allows it. Lulu generates a custom cover template after the book specifications and interior are known. IngramSpark and KDP also provide template tools tied to the selected specification.
2. Learn what the hardcover template is showing
A hardcover template is not only a rectangle around the finished front cover. It maps several production zones.
| Zone | What it controls | Practical rule |
|---|---|---|
| Front and back boards | The main visible cover faces | Keep titles, faces and other critical elements inside the template’s safe area. |
| Spine | The narrow vertical face between the boards | Center spine content inside the current spine guides; do not reuse an old width. |
| Hinges | The flexing channels beside the spine | Let backgrounds continue through them, but keep important text and faces away. |
| Wrap or overhang | Artwork folded around the board edges | Extend backgrounds fully; expect this area to disappear around the edge. |
| Barcode area | Reserved retail or production space | Leave it clear unless the provider specifically permits moving or supplying the barcode. |
The numbers are provider-specific. For example, KDP’s current hardcover guidance describes a 0.51-inch cover wrap, a 0.4-inch hinge area and a minimum 0.635-inch distance from the outer cover edge for important text and images. Those figures belong to KDP’s case-laminate product; they are not universal hardcover measurements.
Lulu’s casewrap guidance separately identifies board, wrap, overhang and hinge areas. It also warns against borders placed close to the edge because normal manufacturing variation can make uneven spacing visible. Follow the generated template in front of you.
3. Build one clean cover spread
Extend backgrounds beyond the visible boards
Color, texture and illustration that should reach an edge must continue through every required bleed and wrap zone. Do not stop the background at the finished front-cover boundary. A white strip at the outer edge of the source file can become a visible white sliver on the book.
Protect the focal point
Keep the title, subtitle, author name, faces, small characters and other critical artwork well inside the safe area. Give the hinge extra breathing room. A character looking fine on a flat template may appear cramped when the board and hinge bend into the spine.
Treat the spine as a narrow sign
Use the current spine guides, not a manually estimated center. Check that the title reads in the intended direction and that every letter fits comfortably. If the spine is too narrow for clear type, leave it blank rather than forcing tiny lettering into an unstable area.
Avoid precision borders near manufactured edges
A thin frame can magnify ordinary cutting, wrapping and binding variation. If a border is part of the design, move it well inward and make it visually forgiving. The same applies to symmetrical corner details and artwork meant to align exactly across a hinge.
Keep template marks out of the artwork layer
Use guide layers while designing, then remove or hide them exactly as the provider instructs. IngramSpark’s current file-creation guide says not to move template elements other than the barcode and to remove or fully cover the template guide areas in the final PDF or EPS. KDP likewise says to remove template text and guides before export.
4. Export the file and run a preflight
Follow the target provider’s current export specification. Common checks include:
- the final PDF page size matches the generated template exactly;
- the cover is one page, not separate front, spine and back files;
- images have enough effective resolution at final size;
- fonts are embedded;
- transparent effects are flattened when required;
- crop marks, registration marks, template labels and stray objects are absent;
- the file is not password-protected or otherwise secured;
- the required color space and PDF standard are used.
KDP’s current cover guidance calls for 300 DPI images, embedded fonts, flattened transparencies, no crop marks and no file security. IngramSpark’s May 2026 guide specifies 300 ppi, CMYK and PDF/X-1a:2001 or PDF/X-3:2002 for the production files described in that guide. Do not silently apply one provider’s export preset to another provider.
Open the exported PDF at high zoom and inspect every edge. Look for clipped shadows, faint hairline boxes, missing fonts, unexpected color shifts and objects hidden beneath the template. Then view the full spread at normal size to judge balance.
What can I upload to YourBookBound?
YourBookBound’s current upload guide accepts an interior in PDF, DOC, DOCX or RTF. A cover is optional at the first upload and can be supplied as PDF, JPG, JPEG or PNG, with a current maximum upload size of 100 MB.
You do not need to guess whether the cover is production-ready before contacting us. Upload the latest interior and optional cover for the free human file check. We review the actual files first and explain the next step before payment.
5. Use the physical copy to check what a screen cannot
A digital preview is useful, but it cannot show the finished wrap, hinge, board edges, opening behavior or exact printed color. Lulu explicitly notes that its online preview is not an exact representation because manufacturing variation remains.
When the hardcover arrives, check:
- whether the front title feels centered on the board;
- whether faces and important details stay clear of the hinges and edges;
- whether the spine title is centered and readable;
- whether the back-cover copy and barcode area remain comfortable;
- whether backgrounds wrap cleanly with no unintended white slivers;
- whether color, small type and fine lines survive printing;
- whether the cover matches the interior’s orientation and reading direction.
Frequently asked questions
Can I make the cover before the interior is final?
You can develop the concept, but do not finalize the production spread. The final page count, paper and product determine the spine and template.
Should the front cover be a separate PDF?
Not for the common one-piece case-laminate workflows covered here. They normally require one spread containing back, spine and front, plus production zones. Follow the exact provider template.
Can I reuse a paperback cover?
No. Reuse the artwork if appropriate, but rebuild it on the hardcover template. The hardcover adds different board, wrap and hinge geometry.
Do I need a spine title?
Only if it fits clearly inside the permitted spine area. A blank spine is safer than cramped or drifting type.
Does the cover have to be CMYK?
That depends on the provider. IngramSpark’s current production guide calls for CMYK; other workflows may handle color differently. Use the current specification for the route receiving the file.
Can YourBookBound check a cover that is not finished?
Yes. The cover is optional at the first upload. Send the latest interior and whatever cover material you have; the free file check identifies what is ready and what still needs attention.
One real hardcover, checked first
Let us check the actual files before you pay.
Upload the latest interior and optional cover. We will check the files, explain any production issues and confirm the next step.