
To print a travel journal as a book, combine your completed entries and photographs into a clear sequence, choose what to leave out, and check the layout at the final page size. This is a guide to preserving a trip you have taken, rather than buying a blank journal to write in while traveling.
Pick the story before the photographs
Decide what the book should help you remember. It might follow the route day by day, group experiences by place, or collect a few memorable moments from a longer trip. A chronological book is useful when movement is part of the story. A place-based structure may work better when you stayed somewhere for weeks.
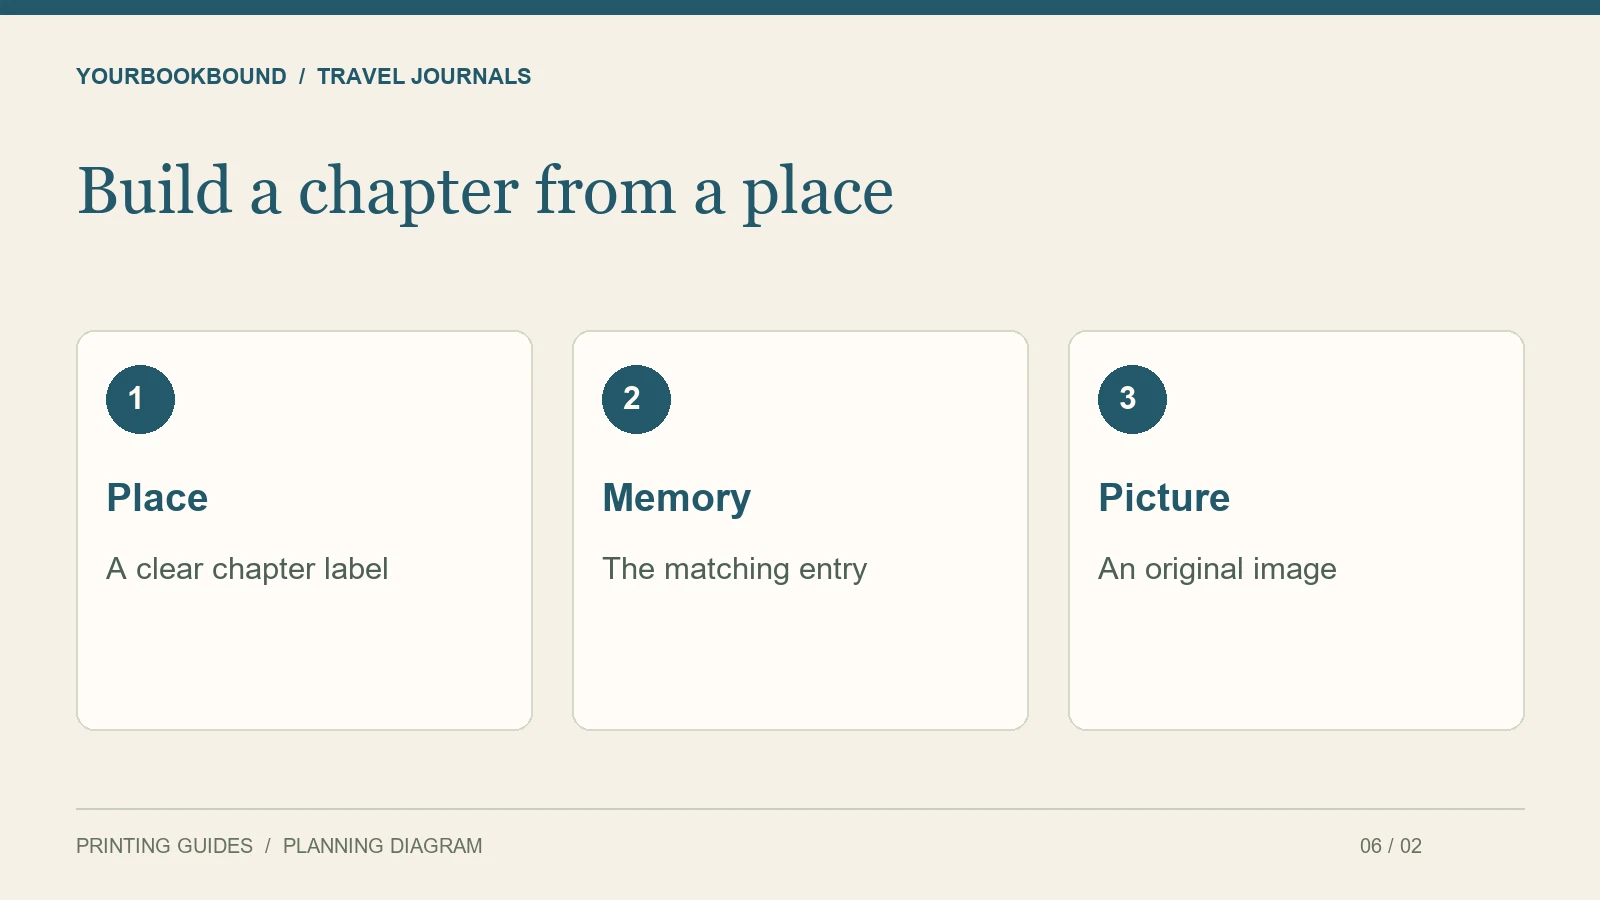
Write a one-sentence description of each chapter before filling it with pictures. That small plan helps prevent the book from becoming an unedited camera roll with captions added at the end.
Match entries to original files
Put the journal text in one working document. For each entry, record the corresponding image filenames and any caption that needs to stay with them. Keep dates and locations consistent, especially if the trip crossed time zones or phone clocks changed partway through.
Prefer the original photograph to a downloaded social-media version. Keep landscape and portrait images in their natural shapes until you see the page plan. A wide mountain photograph may work better on its own page than cropped into the same box used for portraits.
Balance long days and quiet days
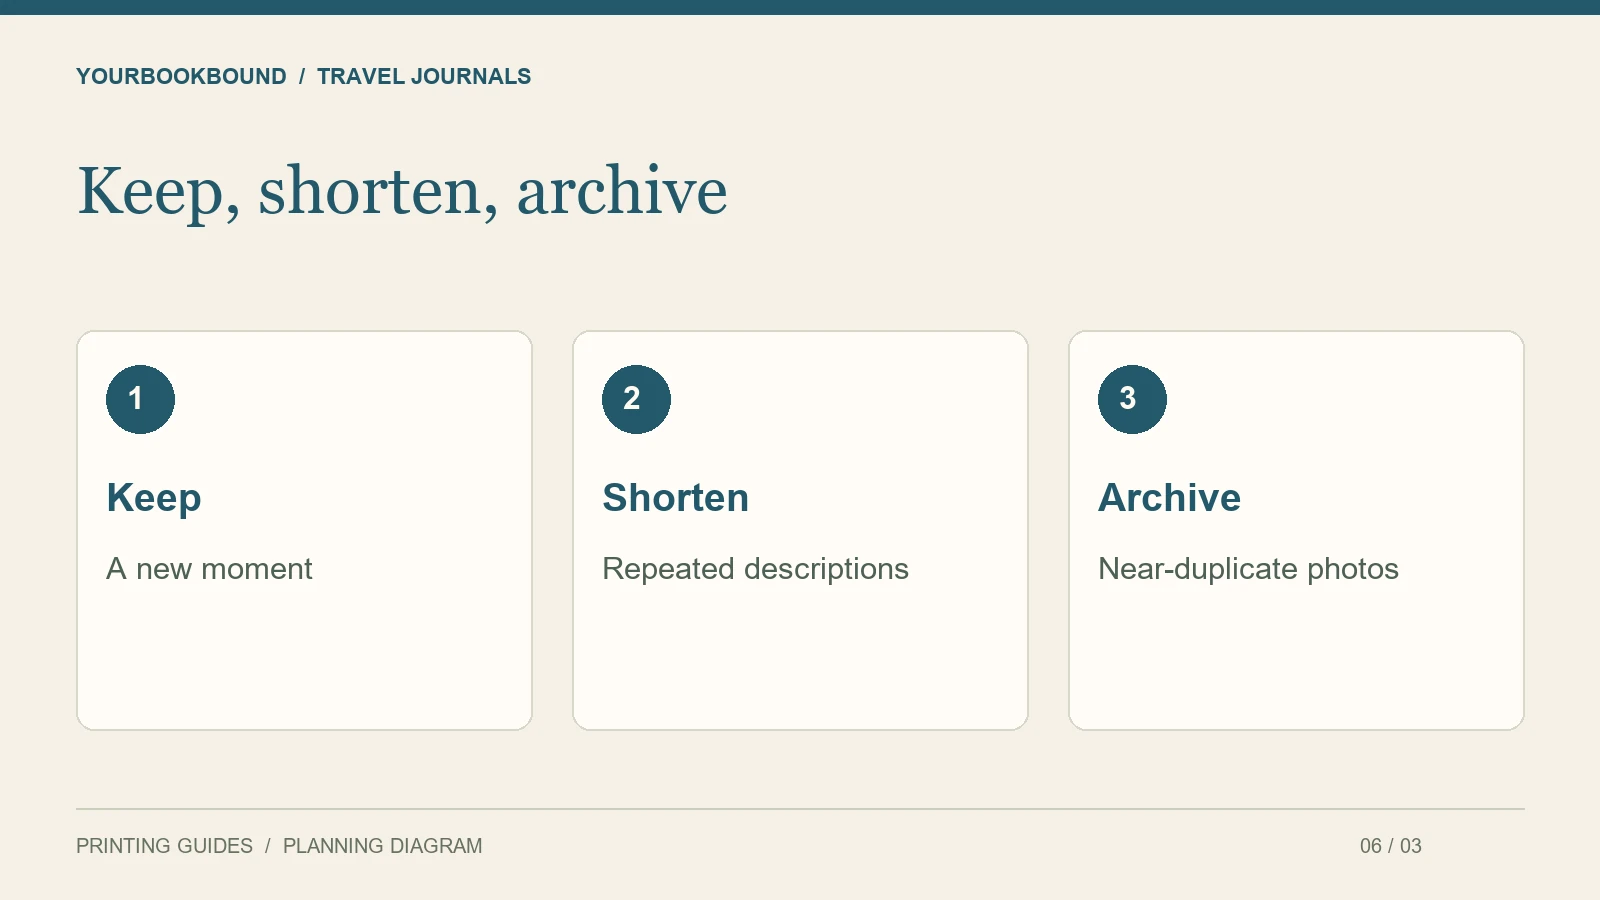
A meaningful day does not always produce many photographs. Give a longer written entry room to breathe instead of adding unrelated pictures to make every chapter visually identical. Conversely, a photo-led chapter may need only a few lines of context.
Try a repeated pattern of a chapter opener, one full-page image and a small group of images with captions. Adapt it where the story needs something different. Consistency helps reading, but it should not force every stop into the same number of pages.
Treat tickets and small details as supporting material
Scan or photograph selected sketches and souvenirs if you want their appearance in the book. Check them at the size they will be printed: a whole ticket may look attractive while its tiny text becomes unreadable. Add a separate caption for information readers actually need.
Remove booking references, passport details and other information that does not belong in a shared keepsake. For maps or third-party artwork, use material you own or have permission to reproduce. The printing file should contain only what you have chosen to share.
Make one sample chapter
Before arranging every day, prepare a chapter containing a long entry, a dark photograph and a small caption. These reveal different problems: text flow, shadow detail and legibility. Use the sample to choose a size and layout approach, then apply it to the rest of the trip.
The image-resolution guide can help with photographs. If the project started in a document rather than a layout program, the PDF versus DOCX guide explains what to provide for review.
How can you match trip notes to the right photographs?
Use a trip index before designing pages. For each stop, record a place label, the entry filename, selected photo filenames and any uncertain dates. Camera timestamps can be helpful clues, but they are not proof of local time when devices crossed time zones or used different settings.
For example, a chapter titled “The coastal walk” could contain one opening landscape, a short account of the route, a sketch and a final photograph from the evening. Put the explanation next to the detail it describes. A caption about a missed train belongs with that part of the journey, even if another photograph is visually stronger.
If your entries live in an app, check what you can actually export before selecting a printing workflow. A PDF may preserve an existing layout, while separate text and original photos allow more layout changes. YourBookBound does not need your travel-app password. Provide the files you have chosen to print and explain any missing captions or sequence information.
Can I mix handwriting, typed entries and photographs?
Yes, prepare the handwriting as digital images and clearly identify the typed text and photo order. Review the different elements together so one page does not require much more effort to read than the next.
Can I print a single copy for myself?
YourBookBound welcomes one-copy hardcover projects using your completed material. Start with a free file check and include your preferred size, approximate page count and delivery country. Keep the original journal and image files as your own archive.