
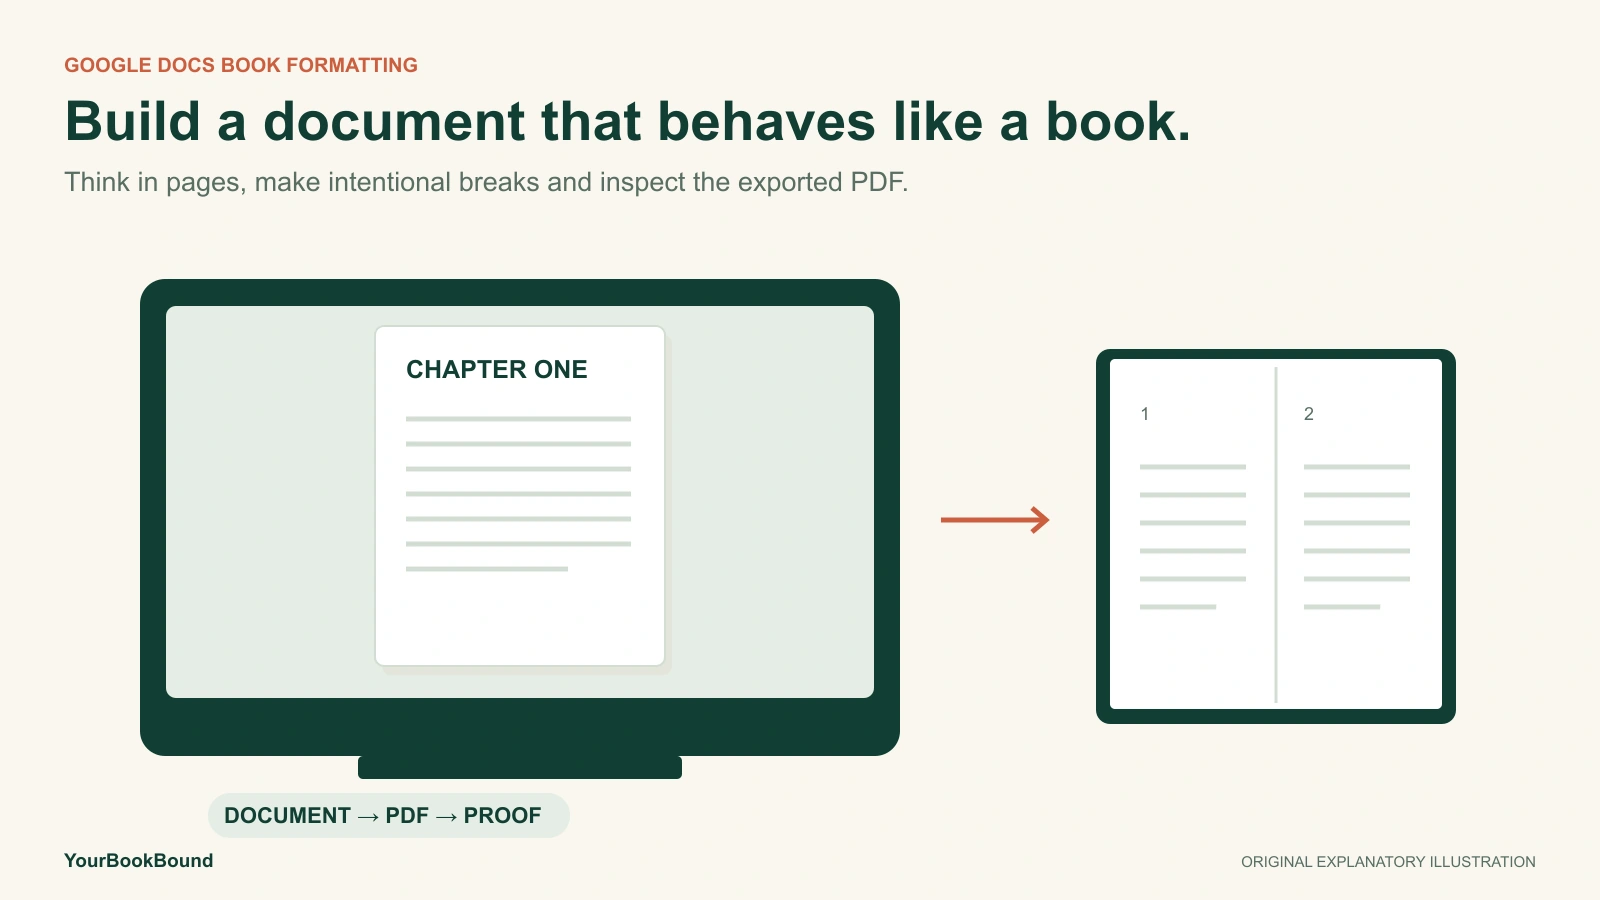
To format a book in Google Docs for printing, use Pages mode, confirm the intended page size and margins, apply consistent paragraph styles, and create deliberate chapter breaks. Then add numbering, export a PDF and inspect the actual pages. If you need help with the final layout, you can hand over an editable document instead of solving every print detail yourself.
What should you decide before formatting your book?
Decide whether you are preparing a finished page layout or a clear manuscript for someone else to lay out. Both are useful handoffs. A document formatted for an editor or literary agent has a different purpose from the pages a reader will hold in a printed book; follow the recipient’s requirements.
For a printed book, collect the complete text and images, put them in the intended order and note any deliberate blank pages or unusual spacing. Make a working copy before changing the layout so you can return to the original organization if needed.
Also choose a likely book size. YourBookBound’s common options are A5, A4 and US Letter, 8.5 × 11 inches, with no page-count limit. You do not need to compress the writing to fit an arbitrary page total. The final specification is confirmed during the file check.
Practical inference: separate “content complete” from “layout complete.” A finished manuscript can be ready for review while its typography still needs work. Google Docs can export a document, and YourBookBound accepts editable files with layout included if you order. That gives you a useful stopping point before every page looks finished.
Why should you use Pages rather than pageless?
Pages mode gives you the page-dependent controls needed to plan a printed layout. On a computer, open File → Page setup, select Pages and confirm. It supports page boundaries, headers, footers and page numbers. Pageless is designed to let content reflow through a continuous workspace. Google explains the two formats here.
Pageless documents can still print, but do not assume the printout will match the editing view. Google notes that wide tables can be compressed and images adjusted to page width; some previously added page elements can print even when hidden in the pageless editor. Its advice is to return to Pages for control over the printed appearance. See Google’s printing guidance.
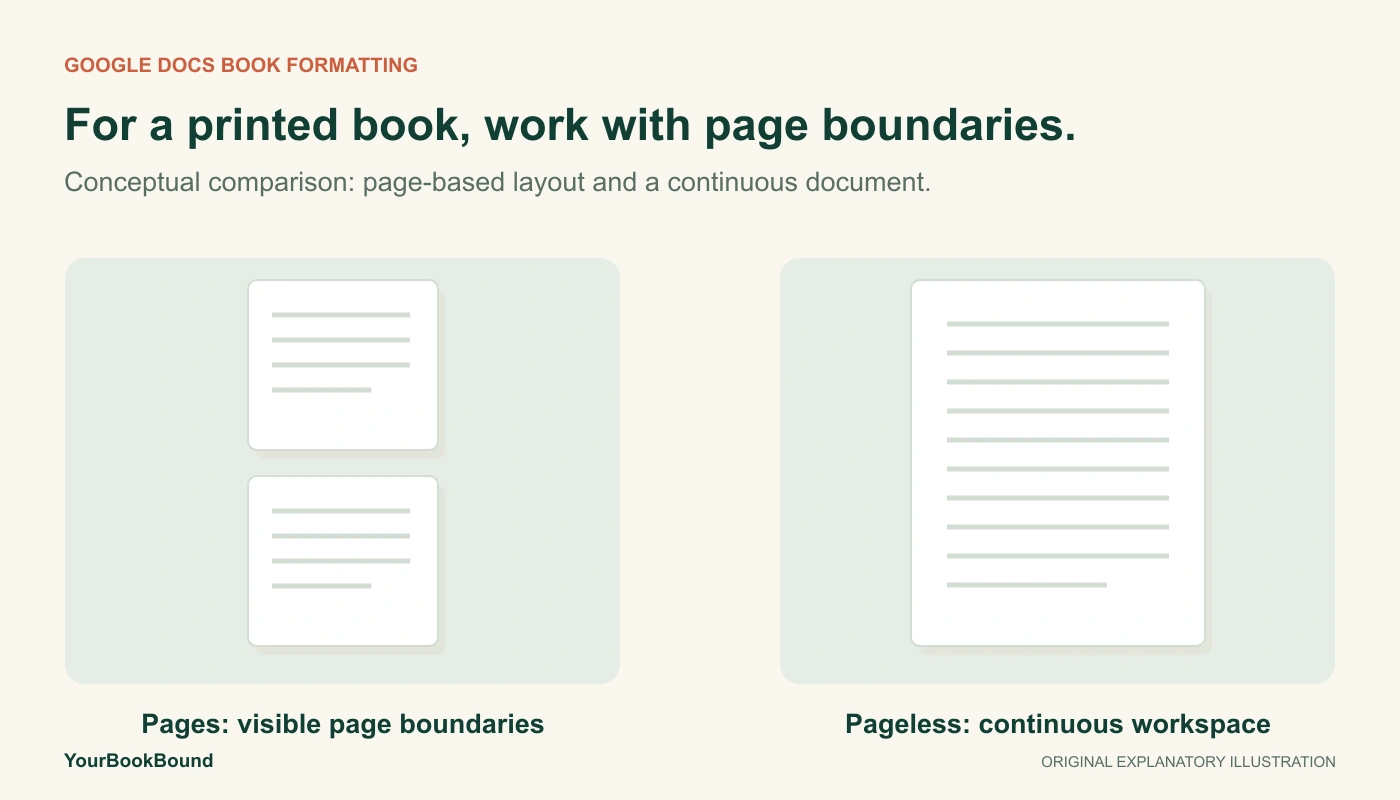
This guide uses the desktop English-interface controls documented by Google. Mobile menus differ. The diagrams explain the concepts; they are not screenshots of the application.
How do you set the page size, margins and text styles?
Set the page geometry before polishing individual paragraphs, then use styles for consistency. Open Page setup to select the paper size and orientation and enter the margins agreed for the book. Turn on View → Show print layout to see page outlines. These controls are documented in Google’s page-settings instructions.
If your exact intended size is not available in the selector, stop and have the production team confirm the handoff. Do not quietly choose a nearby size and assume it will produce the same layout. This workflow does not require installing a third-party page-sizing add-on.
Margins need room for comfortable reading and the bound edge. Ask for the appropriate setup for your actual book; a single measurement copied from a novel tutorial is not a rule for every size or binding. Likewise, odd/even header controls should not be mistaken for a mirrored-margin control.
Next, establish a small style system:
- Normal text: ordinary paragraphs with consistent font, spacing and indentation.
- Heading 1: chapter titles or equivalent main divisions.
- Heading 2: subheadings inside those chapters, when needed.
Apply the appropriate paragraph style to each item. You can change a sample heading and update that heading style to match through Format → Paragraph styles. Google documents both styles and their relationship to a contents list. See headings and table-of-contents instructions.
Choose text that is comfortable to read at the final physical size. There is no font-and-size combination that works for every audience, page width and typeface. Be especially careful with captions, handwritten material and a layout that depends on unusual characters.
Practical inference: change the large settings before the small repairs. Page size, margins and body style affect how text flows. Confirm those first, then fix awkward chapter endings and isolated lines. This sequence follows from the layout controls; it is a way to reduce rework, not a claim that pagination will never change.
How do you start chapters without using repeated blank lines?
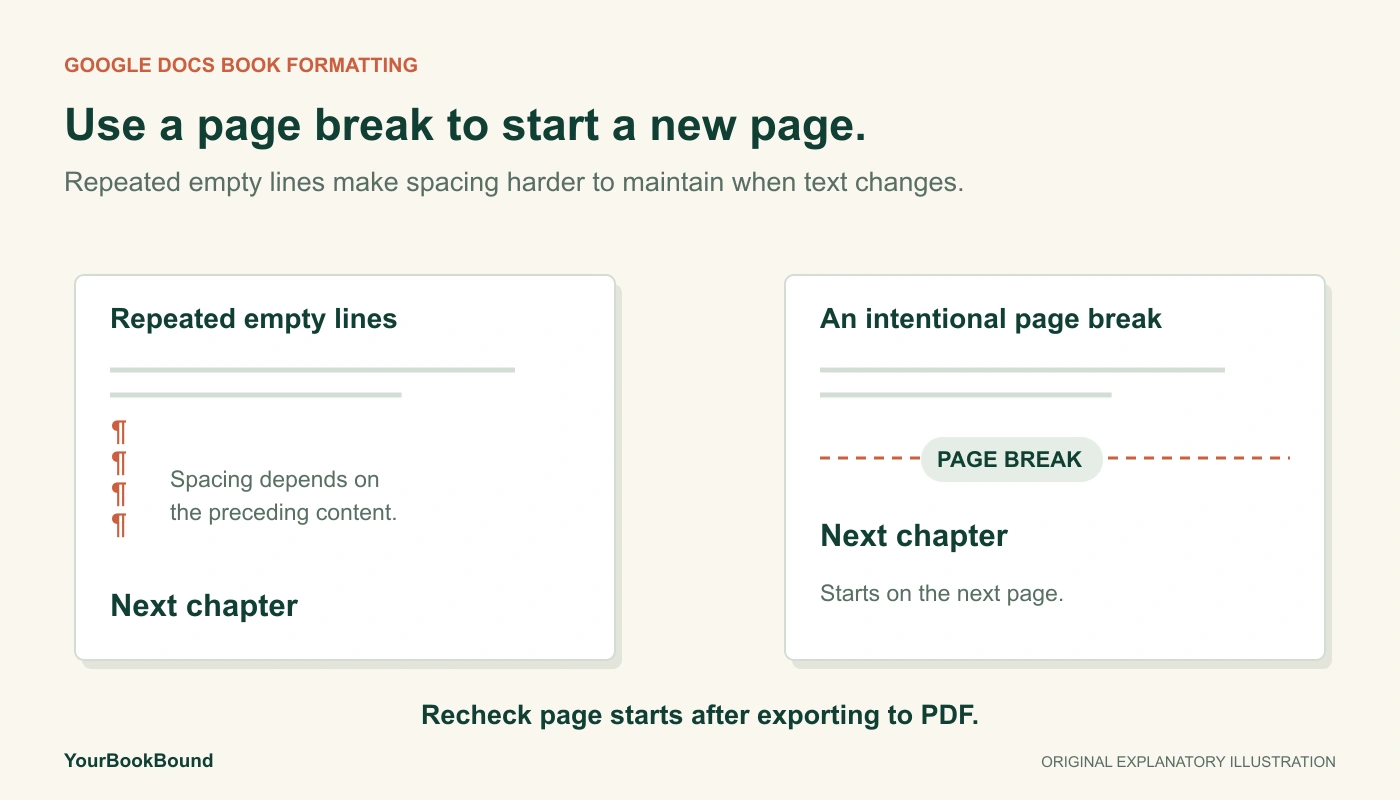
Use a page break when a chapter must start on a new page. Place the cursor before the chapter heading and choose Insert → Break → Page break. Google also supports a break-before setting for a paragraph in its line-and-paragraph-spacing controls. Google’s break instructions cover both methods.
Repeatedly pressing Enter creates empty paragraphs rather than a rule that the next chapter belongs on a new page. After an earlier edit, those empty lines can leave an unexpected gap or push the heading farther down. An explicit break states the intention more clearly.
Use a section break when the next part needs different layout or numbering rules, rather than adding sections to every page. For example, front matter and the main text may need different numbering treatment. Every added section is another boundary to check in the exported file.
How do you add page numbers, headers and a contents list?
Use the document’s page elements and heading structure, then check what appears on each section’s first page. Current desktop instructions put headers, footers and numbering under Insert → Page elements. Google supports a different first page and section-specific numbering; header/footer links between sections can also be changed. Follow the current page-number and header instructions.
Write down the intended result before adjusting settings: perhaps the title page has no visible number, the main text starts at 1, and a running title appears only in the main chapters. Then inspect those boundaries explicitly. Hiding a number on the first page and restarting a later section are different decisions.
If the book needs a contents list, create it from the headings using the table-of-contents option under Page elements. After changing headings or pagination, refresh the list and compare its entries with the actual pages. A short illustrated keepsake may not need a contents page at all; add it when it helps the reader navigate.
How should you handle illustrations and the cover?
Keep the interior sequence clear, and treat cover preparation as a separate task. A title page inside the document is not the same thing as a complete hardcover design with front, back and spine.
For images inside the book, check the intended position, caption and surrounding text after any layout change. Do not use a good-looking screen preview as the only evidence that a small source image will print clearly. The book-image resolution guide explains how the source image and its placed size interact.
If artwork must reach the trimmed edge, or a picture depends on a precise two-page spread, ask for production preparation before trying to force the effect with page margins. The guide to book bleed explains why an edge-to-edge image requires a separate check.
For YourBookBound’s initial review, a separate cover file is optional. Cover design or adjustment and spine setup are included if you order. Supply your preferred title, author credit and completed artwork instead of guessing a final spine width from the Google Docs page count.
How do you export the document and check the resulting PDF?
Download the PDF, then open that saved file and review it as a separate deliverable. In Google Docs, choose File → Download and select the PDF format. Google documents downloading alternate formats, with access depending on the owner’s permissions. See Google’s download instructions.
For a large document that has trouble downloading, Google documents an alternative in Chrome: use the print command and choose Save as PDF as the destination. Inspect that output too, including the selected page range and any print settings. The large-file alternative is described here.
Use two review passes:
- Completeness: scan the entire PDF in page order. Check that the first and last content are present, chapters follow the intended sequence, blanks are deliberate, and numbering and contents agree.
- Difficult pages: inspect long headings, dense paragraphs, unusual characters, images with captions, wide tables and text near the binding edge. Compare anything suspicious with the source document.
Practical inference: a clean middle page does not prove that the whole export is ready. Page-dependent output can differ from the editing view, so checking both the sequence and the most demanding pages gives you a stronger handoff than inspecting one attractive page.
Confirm the PDF’s page dimensions as well as its page count. If you make corrections in Docs, export again and clearly identify the new version. A successful download is not a certificate that bleed, fonts, images or every production requirement has been resolved.
When should you hand the document over for layout help?
Hand it over when the content is complete but the remaining problems concern print preparation. Examples include an unavailable page size, complex image placement, recurring pagination trouble or uncertainty about the bound edge.
If you want the current page arrangement preserved, submit the checked PDF and explain any deliberate layout choices. If you want the layout prepared or revised, an editable DOCX may be the clearer handoff. Our PDF-versus-DOCX guide helps you choose without treating either format as automatically print-ready.
YourBookBound accepts PDF, DOC, DOCX and RTF interiors, up to 100 MB per file. Submit the complete interior in its intended order; a Google Docs editing link is not an upload format. See the current file requirements and include a short note identifying the size you want and the pages that need attention.
Ready to turn your document into a hardcover?
Start with a free human file check, with no payment or obligation to order. If you proceed, $99 USD per hardcover copy includes technical file corrections, interior layout and formatting, cover design or adjustment and spine setup, a digital proof and revisions before approval, one hardcover and standard tracked shipping.
You supply the completed text and images. After the free check, confirm the specifications, copy count and destination, then choose whether to pay. Preparation, the digital proof and revisions follow; printing begins after your approval.