
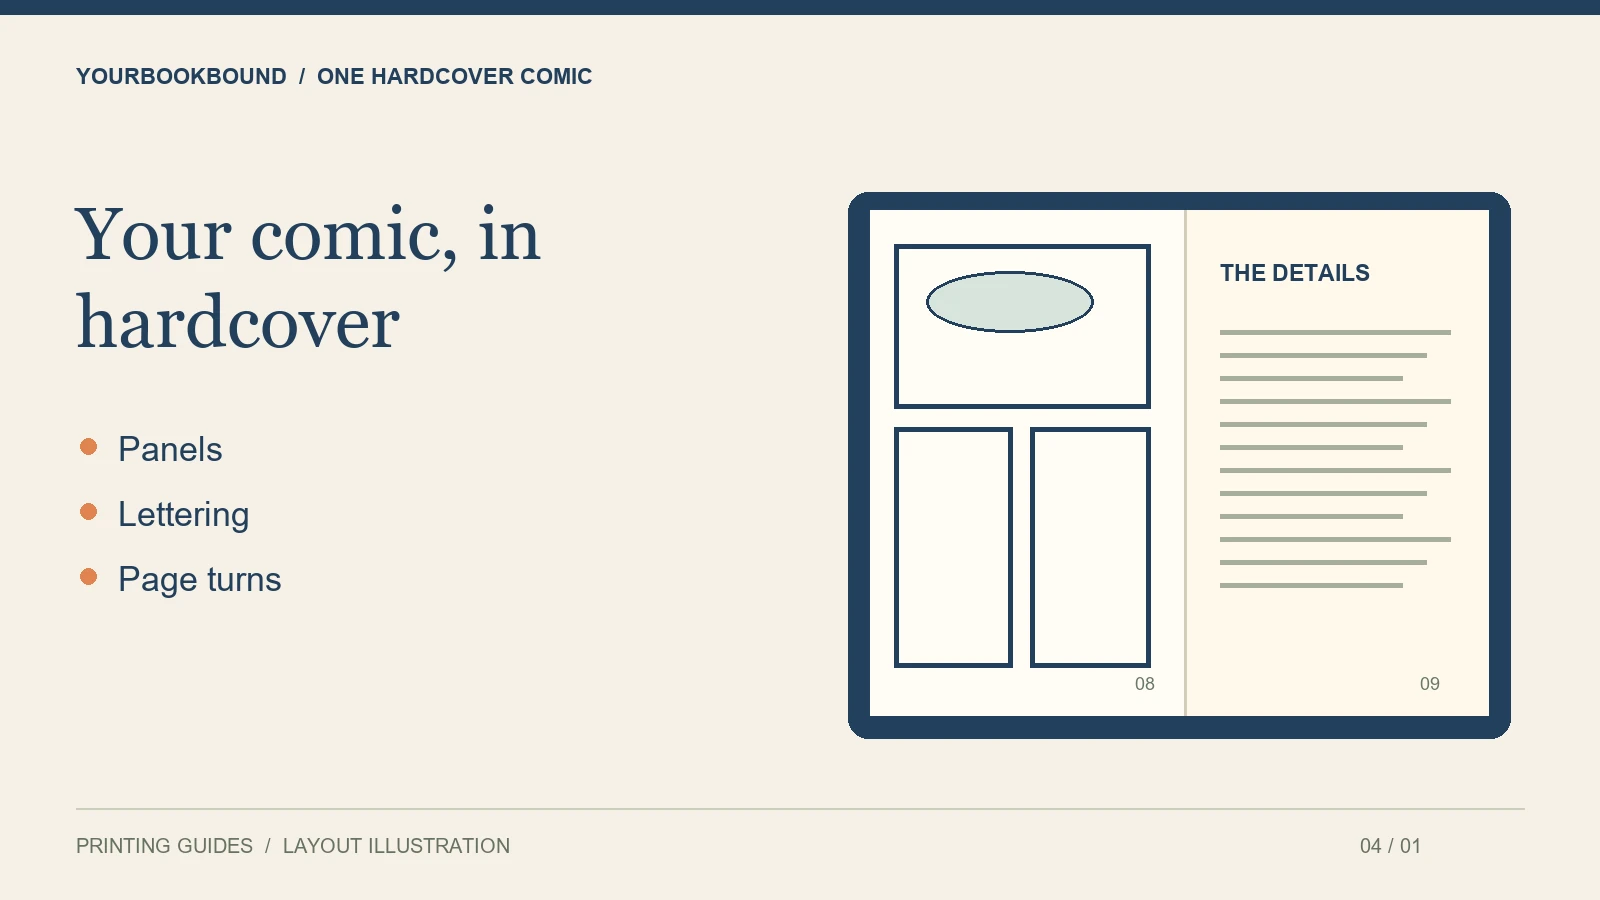
Printing one hardcover comic starts with finished artwork arranged in reading order, readable lettering and a cover prepared for the actual binding. A personal hardcover collection is a different purchase from an inexpensive stapled issue for resale. Decide which product you need before comparing printing services.
Choose the edition you actually want
A hardcover can suit a creator’s own collection, a gift or a compiled story. If you need hundreds of low-cost issues for an event, compare services designed for that quantity and binding. The lowest cost per issue and a supported single-copy hardcover are different priorities.
Also decide whether this book contains one complete story or several episodes. For a collection, add clear episode boundaries and remove repeated pages only when you intend to. A recap or a previous cover might deserve a place in an archive edition even when it interrupts a continuous reading edition.
Test the smallest speech bubble
Open a representative page at its final printed size. Read the smallest speech bubble without enlarging the screen. If it is hard to follow, increasing file resolution will not make the lettering physically larger. You may need larger pages, larger lettering or a revised panel arrangement.
Check punctuation, speaker order and whether a bubble tail still points to the right character. These are easy to overlook when you have memorized your own story. Ask a reader unfamiliar with the comic to follow one page without explanation.
Protect the center of a spread
For artwork that crosses two facing pages, identify what sits in the center. A decorative sky can tolerate more interruption than a face or a key line of dialogue. Do not assume a hardcover will open completely flat or that details in the binding area will remain fully visible.
Ask the printer how to supply full-spread artwork and which margins to preserve. Our page-order guide explains why reader spreads and print-ready pages are not interchangeable. Keep a reference image showing how the intended spread should look.
Prepare a comic-specific handoff
- Final interior pages with consistent dimensions.
- A note identifying left-to-right or right-to-left reading order.
- A list of intentional blank pages and episode dividers.
- Separate cover artwork and the exact cover title.
- Notes identifying pages with essential fine lines, dark panels or full spreads.
Do not reuse an old cover spine without checking the new page count and paper. The spine-width guide explains why the interior needs to be settled first.
Read the digital proof as a story
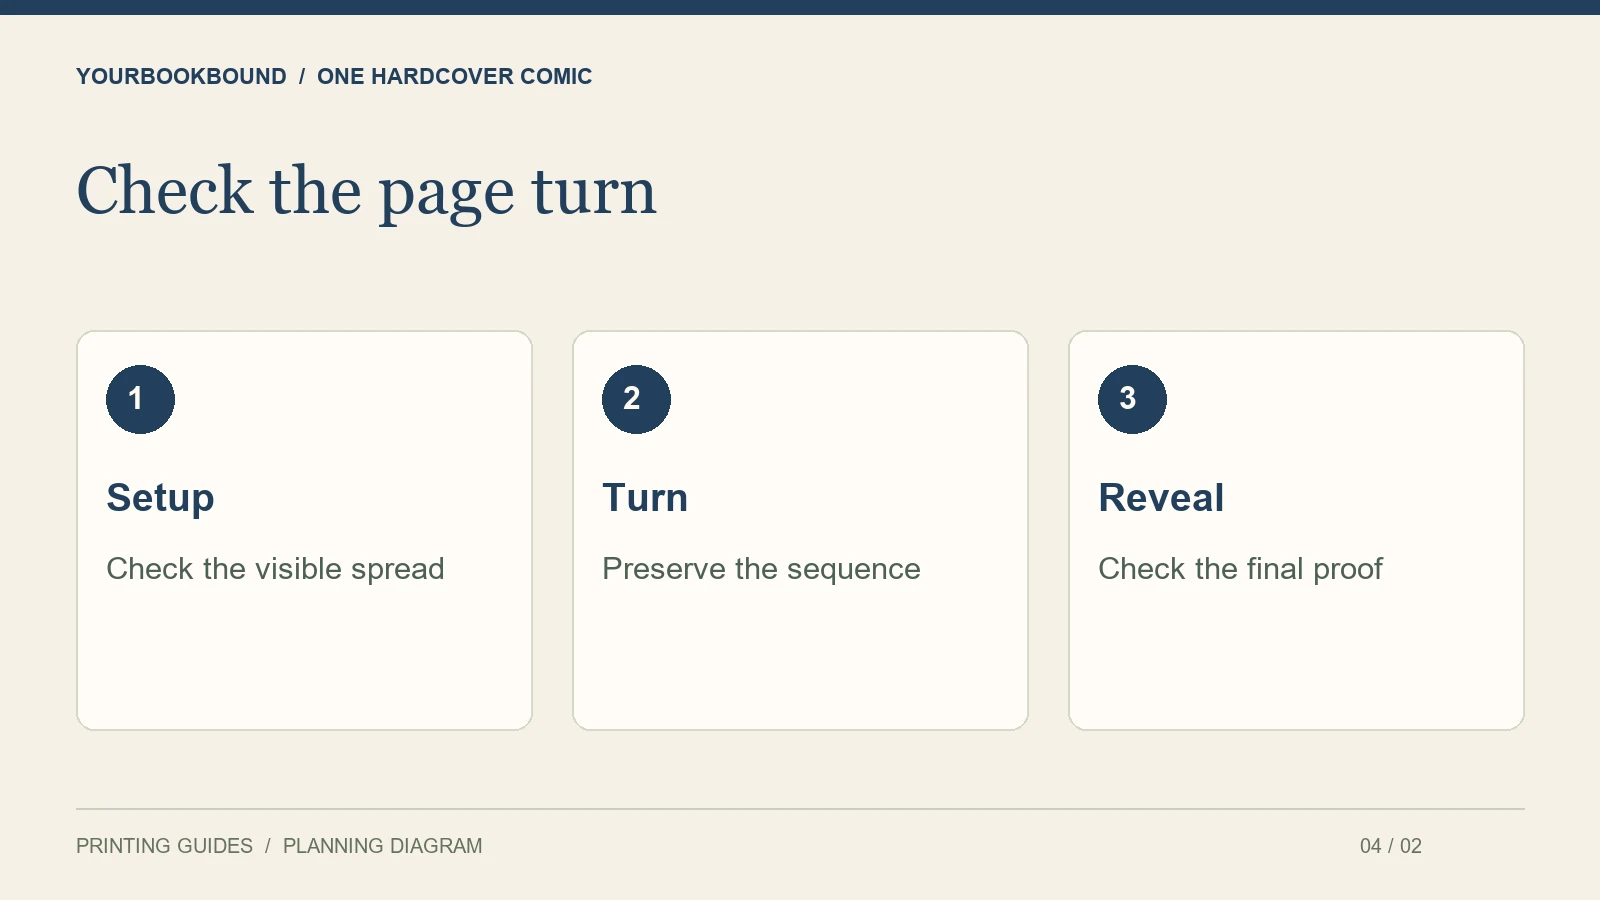
Start at the front and follow every page turn. Confirm that a reveal has not moved onto the same spread as its setup. Check that any blank left-hand pages remain intentional and that the last panel of each page leads naturally to the next.
Finally, compare the proof against a page list rather than memory. A duplicated page or missing episode opening can escape a quick visual skim. The proof is your chance to fix order and layout before approval; it is not a physical print sample.
Will resizing change the comic’s reading experience?
Measure the artwork and the proposed printed page before choosing a smaller book. Reducing a ten-inch-high page to eight inches makes every element 80% of its former size. Lettering that was already small gets smaller too. This is a scale example, not a recommendation for a particular trim size.
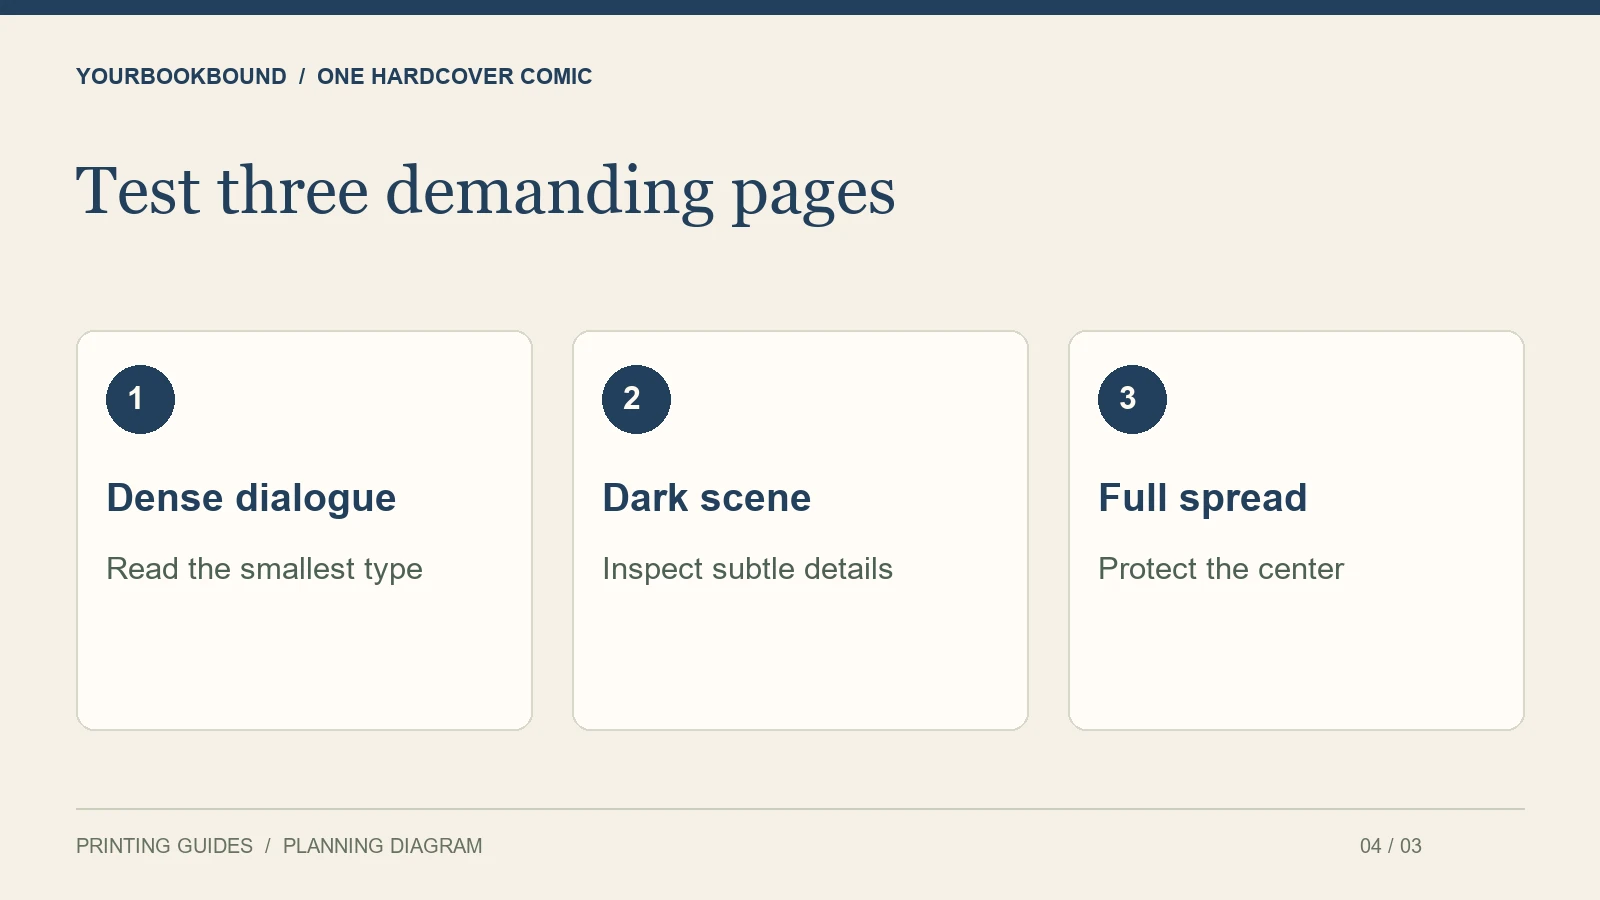
Check three representative pages: the densest conversation, the darkest scene and a two-page reveal. Those pages test different weaknesses. A clear cover image does not establish that the dialogue inside will be comfortable to read.
Keep a page map with the source filename, story page, intended left/right position and any spread partner. If your comic began online as a long scrolling strip, identify where each printed page ends. Cutting the strip into equal-height pieces can divide a speech bubble or leave a panel without its response. Recompose a sample sequence before converting the whole story.
Can I print fan art or someone else’s characters?
Submit content you own or have permission to reproduce. Do not treat a private copy as automatic permission for someone else’s material.
Is one hardcover possible?
YourBookBound accepts single-copy projects. Send your comic for a free file check with the page count, size, reading direction and delivery country. Confirm the project specifications before ordering.