
Family cookbook printing starts with complete, readable recipes and a book format that suits how the copy will be used. Preserve handwritten originals as images, add checked typed text where needed, and resolve unclear quantities before layout. For one keepsake hardcover, YourBookBound accepts a complete PDF or DOCX interior, with production preparation included in the $99-per-copy service.
Is a hardcover or a coil-bound cookbook right for your family?
Choose the book’s main job first. A gift that preserves a relative’s handwriting and stories has different priorities from a book that needs to stay open beside a mixing bowl every week.
A hardcover can suit a family keepsake: it gives the collection a finished cover and a place on the bookshelf. If hands-free flat opening is essential, compare a product explicitly designed for it, such as coil binding or a specialized lay-flat construction. The word “hardcover” alone does not guarantee that behavior.
Lulu’s cookbook range distinguishes coil books that open flat from hardcover keepsake options. PrestoPhoto also describes separate standard and lay-flat constructions. These are product differences to examine, not features to assume across printers.
YourBookBound’s confirmed offer is a hardcover. We do not promise coil binding, guaranteed flat opening or waterproof pages. If those features are nonnegotiable, choose a provider and product that explicitly offers them. If your goal is one carefully prepared family gift, continue with the content and layout steps below.
How do you choose and organize recipes without making the project endless?
Give the first book a clear boundary: the dishes served at family gatherings, one relative’s favorites, or recipes from a particular period. There is no need to fill an arbitrary number of pages. A small collection with complete instructions is more usable than a large one full of unresolved notes.
Make one working list before arranging pages. For each recipe, record its title, contributor, source file, whether it has a photograph or handwritten card, and anything still missing. Give each entry a short ID so a renamed file does not disconnect a recipe from its notes.
Choose one main reading order. Dish type is convenient when someone knows what they want to cook. Contributor or generation can work when family history matters most. Our recommendation is to add a second lookup route: a dish-name index in a book organized by relatives, or a contributor index in a book organized by meals.
This builds on the Library of Congress’s family-recipe guidance, which discusses different ways of grouping recipes, adding an index and keeping family anecdotes. It lets you preserve the story without making the reader remember who originally made every dish.
Keep stories short enough to support the recipe on the page. If the narrative is becoming the main work, the broader family-story book guide may help you choose a different structure.
Can you keep the original handwriting and still make the recipe easy to read?
Yes. Treat the handwritten card and the readable recipe as two related records. One preserves the writer’s marks and annotations; the other helps another person follow the instructions. You do not have to replace one with the other.
Photograph or scan the original yourself, keeping all relevant edges and notes. Check the reverse of cards and envelopes for continuation text. For a fragile notebook, support the binding rather than forcing it flat. The National Archives recommends retaining originals after digitization and taking care with fragile papers and bound volumes.
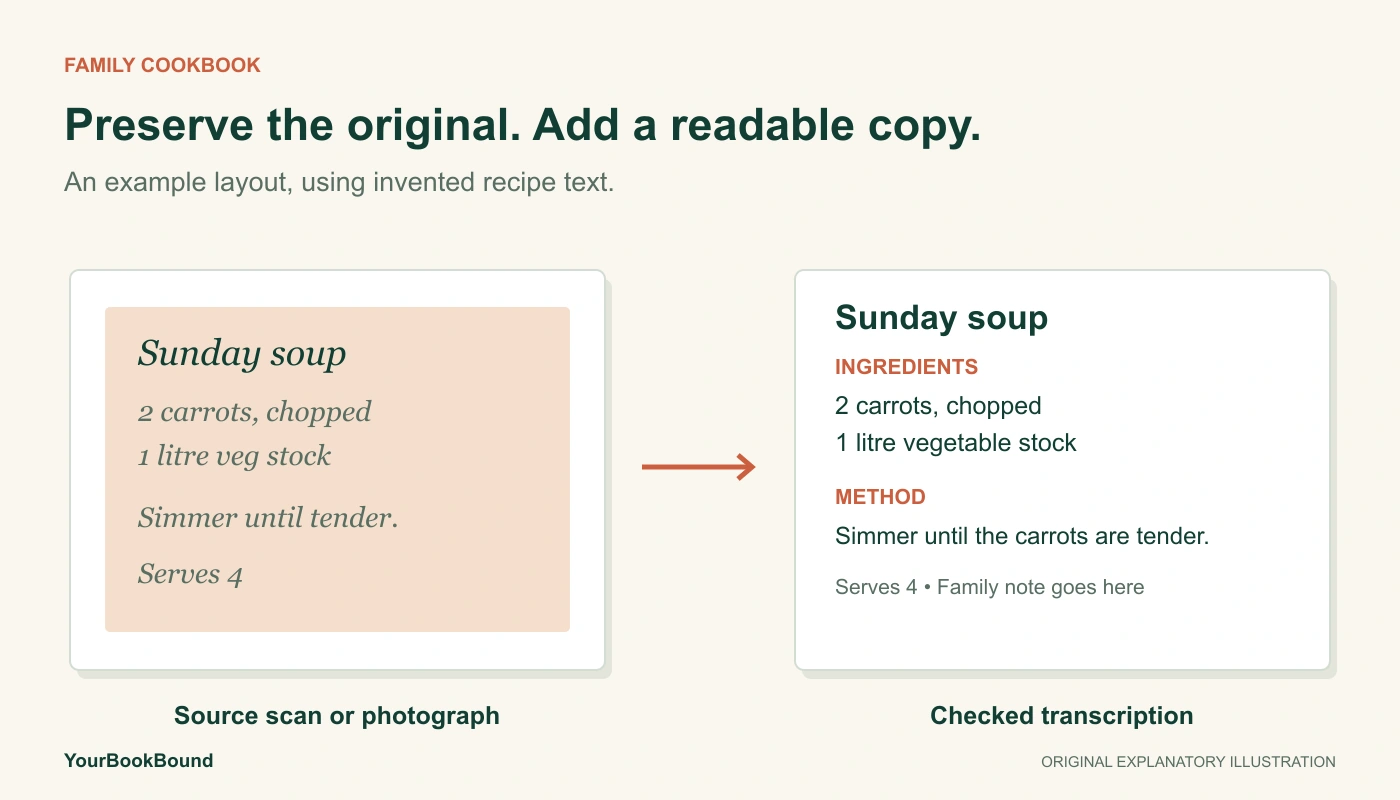
Prepare the typed version separately, then compare it line by line against the image. If you add an explanation supplied by a relative, label it as a note rather than silently changing the inherited text. Keep the untouched image even if you use a cropped version in the book.
For example, a working document can contain three clearly labeled parts: “Original card,” “Checked transcription” and “Family notes.” A note might explain who made the dish or which occasion it belonged to. It should not disguise an unverified guess as part of the original recipe.
You supply these finished digital materials. YourBookBound’s production layout service does not include receiving recipe cards by mail, scanning them or transcribing handwriting. A clear image alone may be enough for a facsimile page, but a typed version is useful when another cook needs to read difficult handwriting.
What should you do with unclear measurements or missing instructions?
Resolve the uncertainty before treating the recipe as ready to follow. A printer can notice that text is missing or too small; it cannot know what the original cook meant by an unfamiliar abbreviation or an incomplete ingredient quantity.
Use a separate list of open questions while collecting the recipes. Ask the contributor or someone who knows the dish. Keep the answer and who supplied it with the working file, then update the final text consistently.
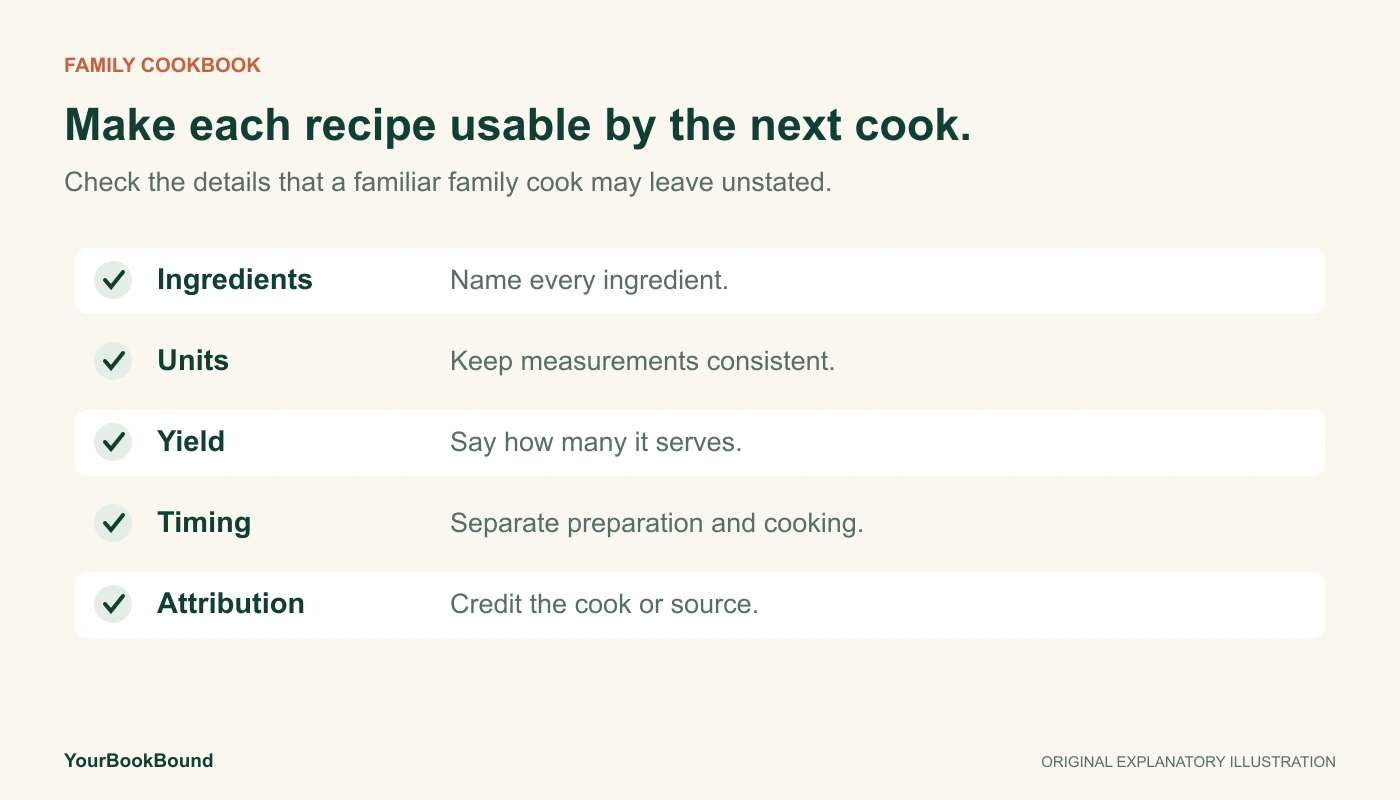
- Ingredients: does each named ingredient have the intended quantity and form?
- Units: are abbreviations, temperature scales and weight/volume distinctions clear?
- Yield: does the reader know the expected number of servings or finished quantity?
- Method: are the steps complete and in the intended order?
- Timing and equipment: are recorded cooking times, temperatures and pan details understandable?
If an instruction cannot be recovered, you can preserve the card as a historical family item and identify the transcription as incomplete. Do not present it as a verified cooking recipe. The family should decide whether to include that archival page or hold it for a later edition.
Do not convert measurements simply to make the page look consistent unless the conversion has been checked. Editorial tidiness is not evidence that a recipe will work. Recipe testing and any food-safety assessment belong outside the printing service.
How do you make a family recipe page comfortable to use?
Test the hardest recipe before formatting the whole book. Choose one with a long ingredient list, several steps and an image of the original card. Place it on a page at the intended size and print a paper mockup if you can. That tests reading size and spacing; it is not a proof of the finished binding or paper.
Use a repeatable pattern: recipe title, contributor, ingredients, numbered method and optional family note. Keep enough separation that someone can find their place after looking away. Avoid shrinking all the text just to make every recipe fit one page.
If a recipe needs two pages, make the continuation obvious. Keep its title or another clear identifier on the continuation, and check that important instructions are not hidden near the inner binding margin. A scan of the card can be smaller when a readable transcription carries the cooking instructions.
YourBookBound’s common formats are A5 (148 × 210 mm), A4 (210 × 297 mm) and US Letter (8.5 × 11 inches). A larger page may give a dense recipe more room, while a compact format may suit a lighter collection. Compare actual sample pages rather than choosing from measurements alone.
Common papers include uncoated woodfree/offset paper and double-sided coated art paper. Discuss whether the book is primarily for reading, pictures or handwritten additions during the file check. Do not assume either paper is wipe-clean or compatible with every pen. There is no page-count limit; choose the pages your content needs.
What files and permissions should you prepare for printing?
Combine the finished recipes, images, captions and opening pages into one complete interior document in the intended reading order. Use PDF when the arrangement is settled, or DOCX when all the content is ready but production layout still needs help. See how PDF and DOCX handoffs differ.
The interior uploader accepts PDF, DOC, DOCX and RTF, up to 100 MB per file. Loose JPG scans are not an accepted interior submission: place the selected scans inside the document. A separate cover is optional for the first check. The file guide lists the cover formats separately.
Include only material you have the right to reproduce. The U.S. Copyright Office distinguishes ingredient lists from potentially protected expressive writing; photographs and illustrations can have their own rights. A web clipping or cookbook screenshot may therefore involve more than the recipe’s basic ingredients. Credit contributors, and confirm permission for someone else’s prose or images rather than assuming a private family project settles it.
Before upload, remove duplicate versions, resolve placeholders and name the complete file clearly. Keep the original scans and editable text in your own archive. You do not need to perfect technical printing details to request the free check.
How should you proofread the cookbook before approval?
Read the proof as someone who did not collect the recipes. Familiarity can make a missing word or wrong fraction surprisingly easy to overlook.
- Compare ingredients and quantities with the checked final text, including fractions and symbols.
- Read every method in order; confirm that continued pages and step numbers make sense.
- Check contributor names, family notes, photo captions and the cover title.
- Inspect scans for missing edges, handwritten additions or text on the reverse that was omitted.
- Verify contents and index page references after layout is settled.
- Check the corrected proof again before approving it for printing.
A digital proof lets you review content and layout. It does not test the recipe, show the actual paper feel or guarantee exact printed color. Have a second family reader check uncertain details if possible, and keep the final approved file with the source collection.
Ready to turn your finished recipes into one hardcover?
Send your complete interior PDF or DOCX for a free human file check. There is no payment at upload and no obligation to order.
If you order, $99 USD per hardcover copy includes technical corrections, interior layout and formatting, cover design or adjustment and spine setup, a digital proof and revisions before approval, one finished hardcover and standard tracked shipping. Additional copies are also $99 each. The pricing page explains the complete service.
You provide finished recipes and digital images; we prepare that content for the book. Government import duties or taxes are separate, and any payment-provider charges are shown on the payment page. Confirm the specifications after the check, choose whether to pay, then approve the digital proof before printing.