
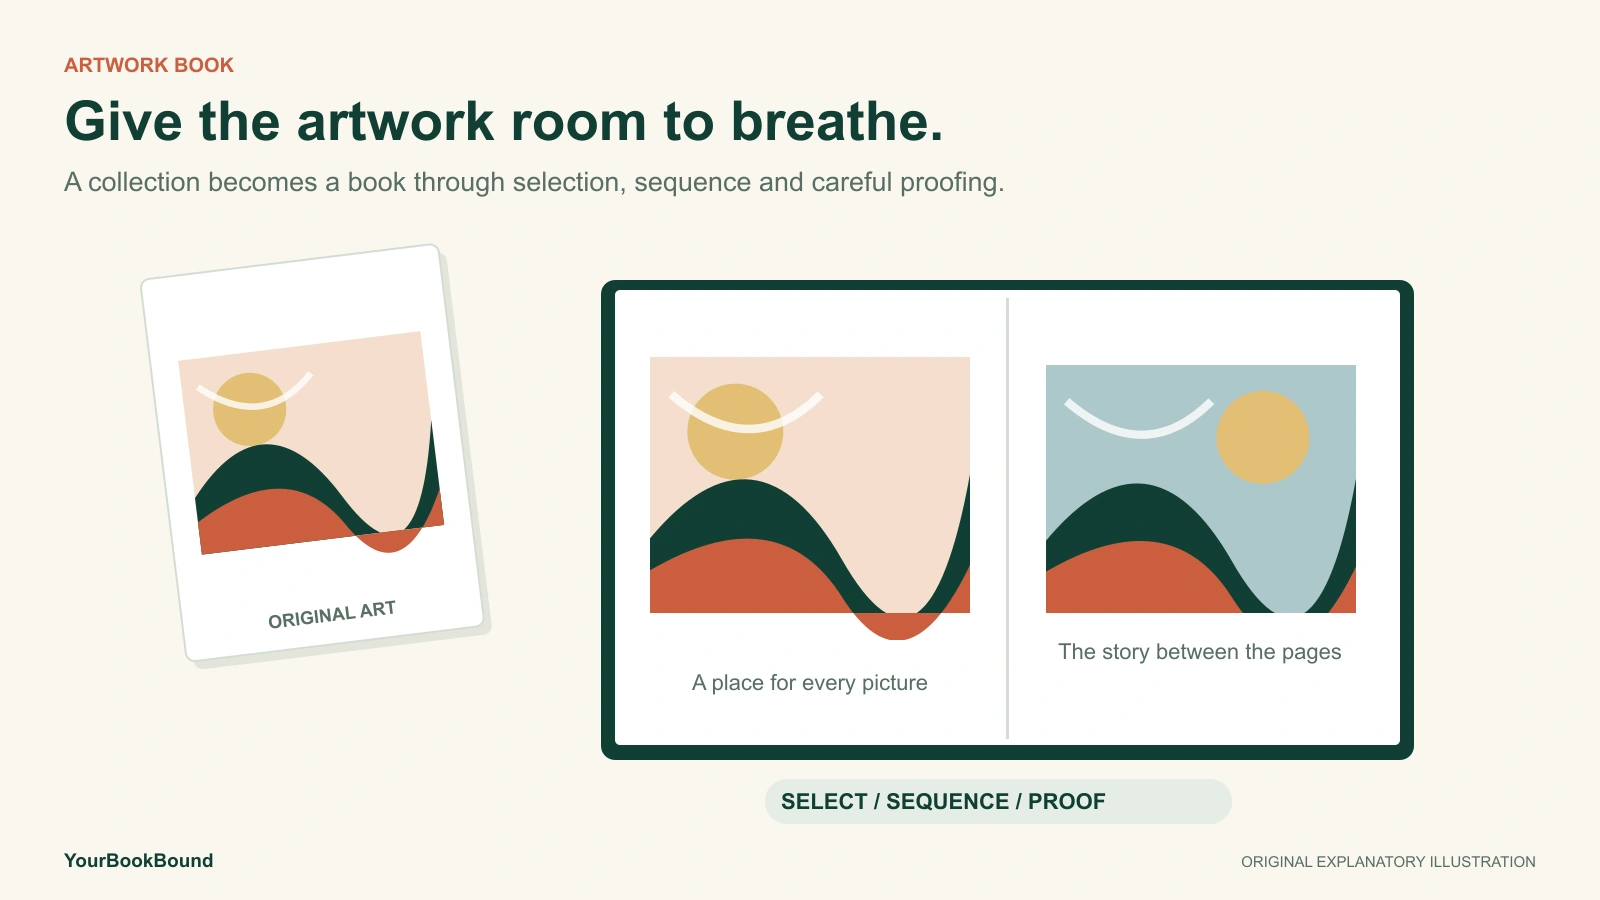
To turn your child’s artwork into a book, choose the pieces together, make clear digital copies, arrange them in reading order, and check the page layout before printing. Keep the originals. For a YourBookBound hardcover, combine the finished pictures and captions into one complete PDF or DOCX interior; professional layout can still be part of the service.
Do you need someone to digitize the art, or print your files?
Start with what you have. A stack of original drawings and a finished digital book are different starting points, and printing services do not all handle both.
Mail-in services such as Plum Print and Artkive describe photographing physical artwork and creating books from it. That route may suit a parent who wants help with digitization itself. Check the provider’s current terms for originals, return shipping and digital-file access before sending anything irreplaceable.
YourBookBound starts with digital content supplied by you. You photograph or scan the drawings, finish any captions, and collect everything into a complete interior document. We can then help with the production layout and cover. We do not offer a box service for mailing in artwork, or a scanning or transcription service.
If you enjoy designing every page, a photo-book editor may also suit you. If your pictures and words are complete but arranging a print layout feels difficult, a document-based service with layout help can make more sense. Decide which part you want help with before comparing prices.
Which pieces should go into your child’s artwork book?
Choose a scope small enough to finish: one school year, a favorite subject, or a collection your child wants to show someone. You can make another volume later. A short, considered selection is easier to revisit than a book assembled only because every available image could fit.
Invite your child to choose some pieces and explain them. Your favorite polished painting may matter less to them than a small drawing with a story behind it. Keep their explanation in their own words where practical; clearly separate your caption from theirs.
- Give each piece an ID: for example,
art-001, used in its image filename and your notes. - Record the context: title, creator, approximate date or age, and a short explanation.
- Choose the reading order: chronological, grouped by theme, or a deliberate sequence selected together.
- Mark anything still unresolved: an unknown date, missing caption or image that needs recapturing.
For a shared school or sibling collection, identify who made each contribution and confirm the permission needed to reproduce it. The U.S. Copyright Office explains that minors can own copyright; having the physical drawing does not automatically settle the rights. Avoid including another family’s names or photographs without discussing their use.
Should you scan the artwork or take a photograph?
Choose the capture method around the object, not the equipment you happen to own. A stable, flat drawing that fits comfortably on a scanner is different from a glitter collage, large painting or page in a bound sketchbook.
- Flat, stable paper: a flatbed scan can provide a straightforward copy when the entire sheet fits safely.
- Oversized or dimensional art: consider a photograph rather than bending or compressing it to fit a scanner.
- A bound sketchbook: support it at a comfortable opening; do not force the binding flat.
- Powdery, flaking or fragile work: avoid casual handling or pressure. Seek suitable conservation advice if its condition makes capture risky.
The National Archives’ digitization guidance warns against automatic feeders for fragile or valuable papers and against forcing originals onto a scanner. The Library of Congress also cautions that plastic sleeves can lift powdery media through static. A sleeve is not a universal solution for every material.
For photographs, use a plain background and soft, even light. Keep the camera aligned with the artwork so its edges do not taper unintentionally. Watch for glare, your own shadow and soft corners. These follow Blurb’s artwork photography guidance. Inspect the actual image before photographing the rest of the collection; fixing the capture setup once is easier than repairing every page later.
Keep a full-image master. Save an untouched copy showing the whole artwork, then make a separate working copy for the book. Cropping or light adjustments should not replace your only record of the original.
How can you avoid blurry images or accidentally cropped drawings?
Judge an image at its intended printed size. A file that looks sharp as a small phone preview may not contain enough detail for a full page. Changing its resolution label does not add information that was never captured.
For example, a 5 × 7-inch scan captured at 300 pixels per inch contains 1500 × 2100 pixels. Enlarge those same pixels to 10 × 14 inches and the effective resolution becomes 150 pixels per inch. This is an illustration of scale, not a universal acceptance threshold. Epson recommends allowing for enlargement when choosing scan resolution.
If the source is limited, you may be better served by a smaller image with breathing room than by stretching it to every edge. Our book-image resolution guide explains how to judge the pixels at their final placement size.
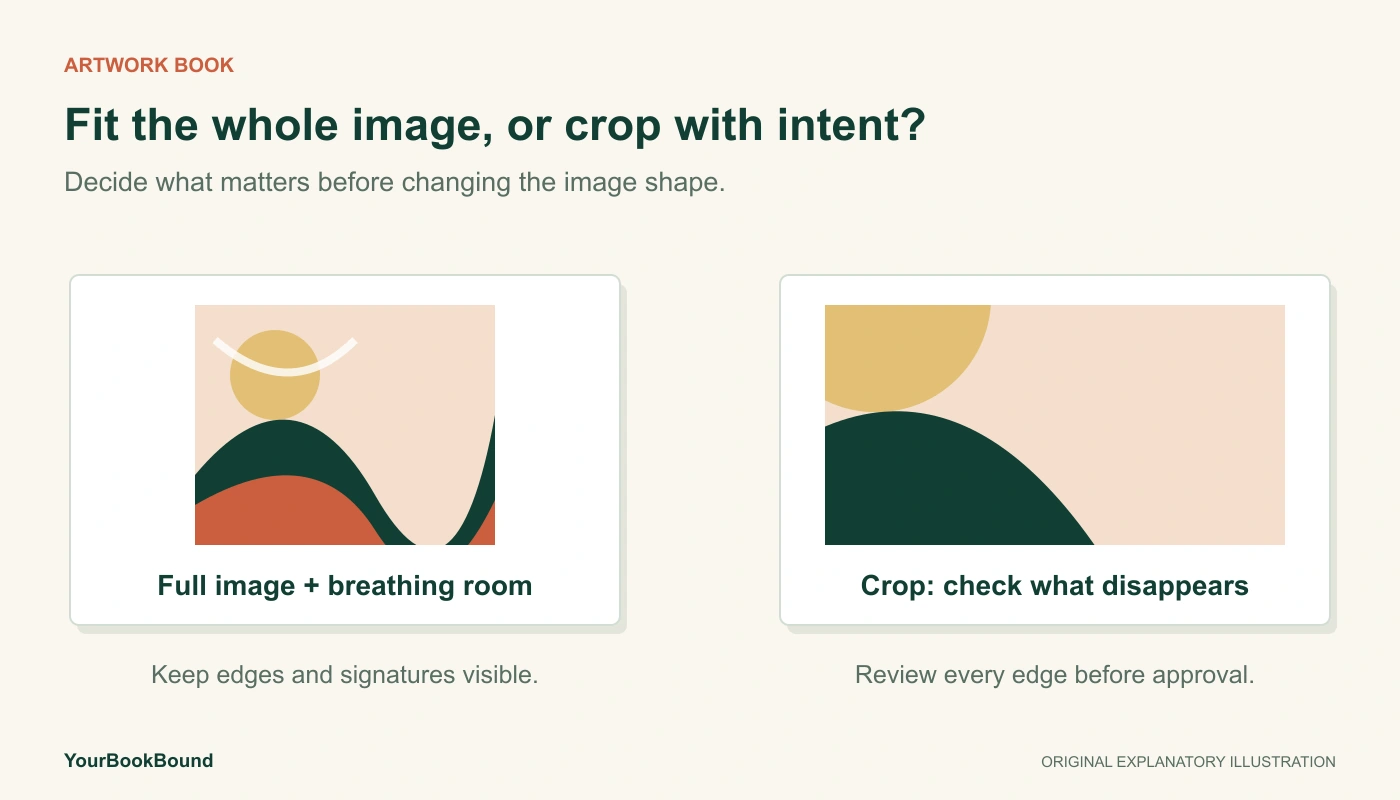
Make a separate decision about composition. Fitting the whole picture preserves its edges; filling a differently shaped page may crop them. Check signatures, dates, handwritten labels and small figures near the outside. Whitespace is useful when it protects something your child put there intentionally.
How should you arrange pictures, captions and different page shapes?
Begin with one clear layout, then vary it only when the artwork benefits. One drawing with a short caption is a useful starting point. A group of small sketches can share a page, but check that their marks remain readable at the actual book size.
Try three representative pages before arranging the entire collection: a landscape drawing, a portrait drawing and the piece with the smallest writing. This reveals whether the planned page shape is workable. It also helps you decide where generous margins are more useful than a bigger image.
YourBookBound’s common sizes are A5 (148 × 210 mm), A4 (210 × 297 mm) and US Letter (8.5 × 11 inches). There is no page-count limit. Choose the pages the collection needs, then confirm size, paper and the production plan during the file check. Common papers are uncoated woodfree, also called offset paper, and double-sided coated art paper.
Do not move a face, sentence or important drawing detail across the center of a two-page spread without reviewing how the binding will affect it. The page turn also changes the story: an opening portrait, a sequence of experiments and a final favorite can give the collection a beginning and ending without inventing a narrative for the child.
Use fictional placeholder captions while experimenting if you have not finished the real text. Replace them before submission. A production proof is much easier to check when every page already contains the intended words.
What should you upload when the pictures are ready?
Put the images and finished captions into one complete interior in reading order. A PDF is suitable when your page arrangement is settled; a DOCX can communicate the complete content and sequence while leaving production formatting to be improved. “Complete” refers to the content, not to expert print design.
The interior upload accepts PDF, DOC, DOCX or RTF, up to 100 MB per file. It does not accept a stack of loose JPG pages as the interior. Image formats are supported for a separate optional cover, which is a different upload field. Check the current file guide before exporting.
- Include every chosen picture and its final caption in the document.
- Keep the intended order clear, including deliberate blank pages.
- Use the best available source images, not screenshots of smaller previews.
- State your preferred size and identify any crops you want preserved.
- Keep original image files available in case the reviewer asks about one.
You can leave the separate cover out of the initial submission. Cover design or adjustment and spine setup are included if you order. Do not send irreplaceable originals by post or assume a contact note replaces the complete interior file.
What should you check before approving the artwork book?
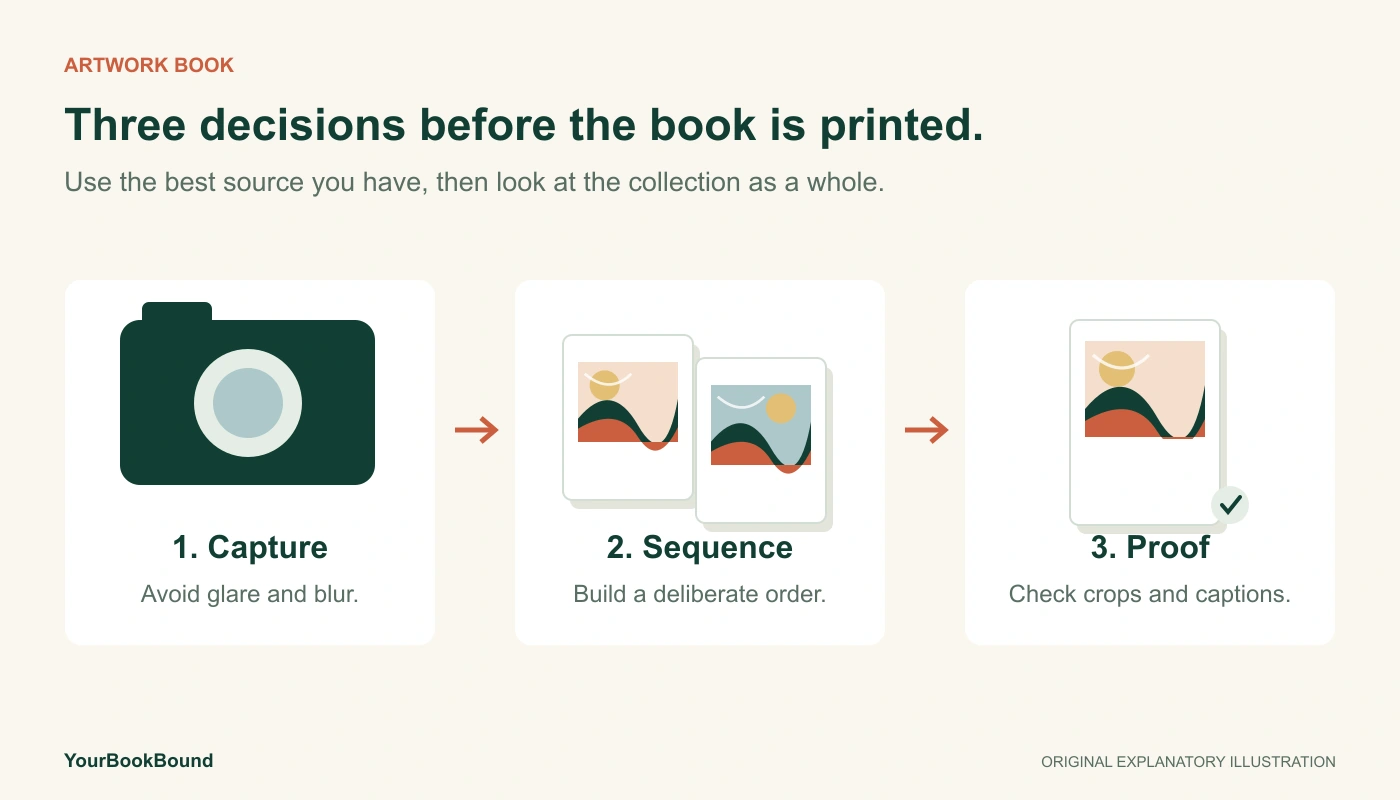
Check the proof against your artwork list, not just from memory. Review it once as a book and again as individual pages.
- Confirm that every selected artwork appears once, unless repetition is intentional.
- Match each picture to its title, creator, date and caption.
- Inspect image edges for missing signatures, words or details.
- Look at small lettering and the inner page margins.
- Check the front cover, back cover, page turns and any deliberate blanks.
- Review corrected pages again before approving the final version.
A screen proof checks content and layout; it cannot demonstrate paper feel or guarantee exact printed color. The digital-proof checklist covers the broader production review.
After printing, retain the original artwork, full-image files and final book file. The hardcover becomes a convenient way to revisit the collection; it should not be your only copy of it.
Ready to check your child’s artwork book?
Upload the complete interior for a free human file check. No payment is taken at upload and there is no obligation to order.
If you order, $99 USD per hardcover copy includes technical file corrections, interior layout and formatting, cover design or adjustment and spine setup, digital proof and revisions before approval, one finished hardcover and standard tracked shipping. Each additional copy is also $99. See the complete service and specifications.
You supply the finished digital artwork and text. Any government import duties or taxes are separate; payment-method availability and provider charges, if any, appear on the payment page. After the check, confirm the specifications before choosing whether to pay; printing follows your digital-proof approval.